Fractal Loop
After some research and development (documented below) I created this looping short video.
It is made by ray marching points, but instead of doing this in a solver like my previous tests, I did it in a loop for a set number of steps which let it update every frame based on the camera’s position.
This meant I could fly the camera around and the geometry would update every frame to describe this fractal.
Because of this, the lighting had to be nearly head-on otherwise it would reveal the illusion.
The VEX I used is the same for all the versions, except for some value changes to get different fractal patterns.

Fractal Ray Marching
After seeing a tutorial by Seanterelle on youtube for fractal ray marching in Blender I recreated the method in Houdini.
Converting Geometry Nodes to Houdini
As of late 2023, the blender community has been enthralled with the addition of the “Simulation Zone” to geometry nodes. I realized while watching Seanterelle’s tutorial that this was just a solver.
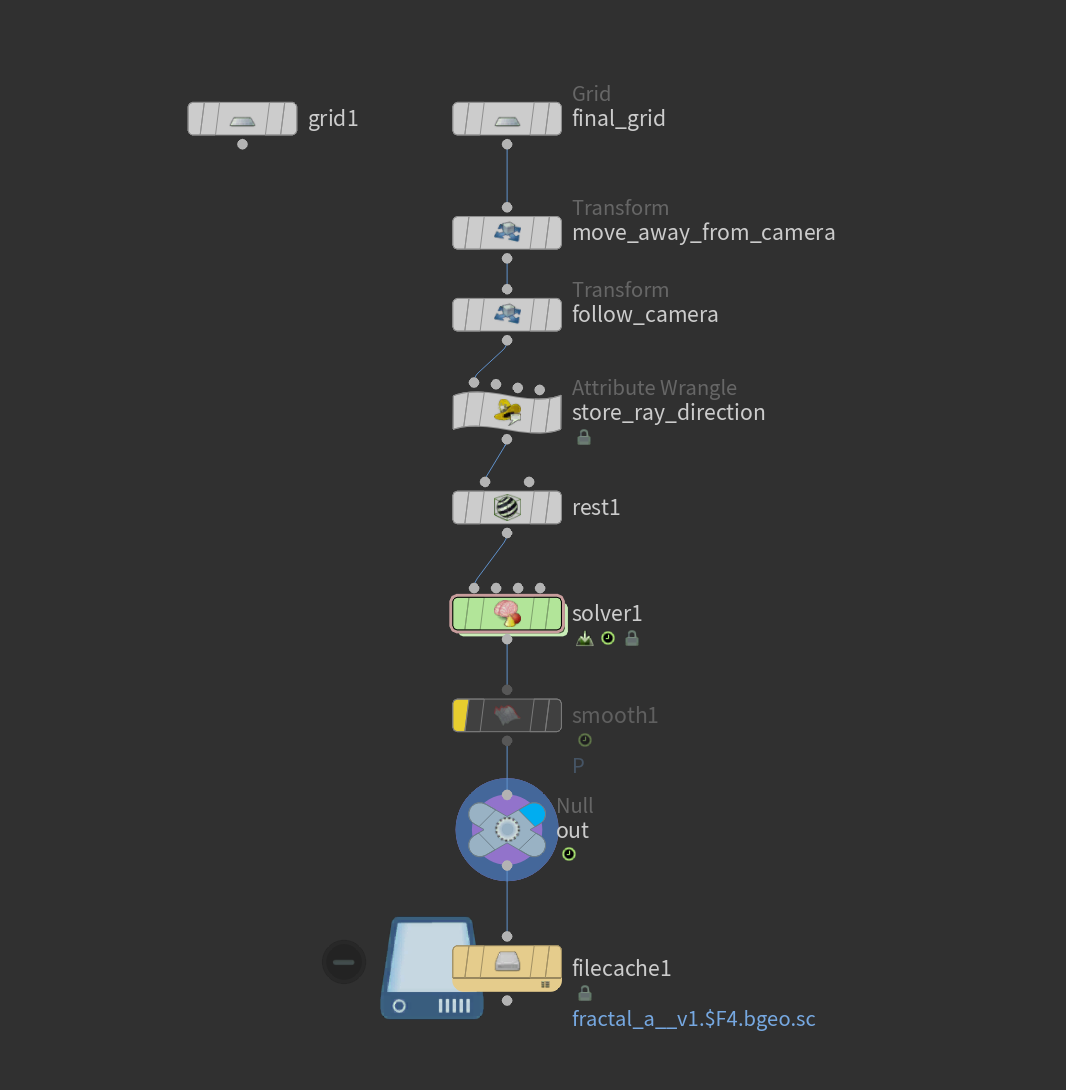
In Houdini, there exists a node known as the Solver. It is a generic solver, so it doesn’t simulate specific things like water or smoke by default, it just does geometry level stuff and updates every frame, i.e. the Simulation Zone.
First I recreated some simple things like making a grid, having it stick to the camera’s view, and getting the ray direction from the camera to each point on the grid (I borrowed some Vex from Andy Moorer for this). Then I dove into the solver to make the ray marching and fractal.
The first step I took was creating a switch to alternate between the un-marched grid and the marched grid after the first frame. This could have been done differently but I don’t think I wasted any resources using this method.
The next step was to create the section in Sean’s video that’s in a “Repeat Zone”. This is the fractal’s description. It is a for loop where the number of loops is the level of detail the fractal will have. I found that after 20 the difference stopped being legible but I kept it high just to be safe.
My greatest achievement here is recreating the Wrap node from Blender. The documentation is vague and I couldn’t find a mathematical description but after some time thinking I figured it out. I am not a programmer, so I know there are better ways to program this, but I was satisfied with the effect.
After that, it is just some math. Also as a rule of thumb for any dealings between Blender and Houdini, Houdini’s Y axis is Blender’s Z axis, so be mindful when recreating things or importing things.
The next snippet of vex is the “Set Position” node remade. It also includes a check that Seanterelle included to resolve some artifacts that show when you run this for more than about 120 frames.
In Blender the if statement is just a boolean “Greater Then” node that activates the Set Position. Then the Set Position takes in the ray direction and multiplies it by the scale found in the previous snippet.
I know there is a glaring efficiency issue with my application of the offset. However, I was having a weird issue where adding the offset as a vector directly to the @P was not working. It was probably some kind of casting problem that I missed, but after getting it to work this way (all the extra steps with the @r attributes were just so I could see it all happening in the geo spreadsheet) I wanted to focus on the fractal section and never cleaned it up.
It should be clear though what is happening and it works perfectly so don’t stress about it.
Material and Render
The Material setup was really quick and easy. I just thought I would address it because it was my first time using the new and improved Karma Material Builder for Houdini 20.
It’s all subsurface and specular reflections. I was going for a fleshy tone, with some procedural noise to vary the reflections.
With the repeat loop render an interesting thing happened where I did not need a rest. This was because, unlike the solver fractals, the loop render had the fractal fully built with each frame, and in this way, it became clear that it was just describing some spacial function (the fractal) by moving this plane around and having it shrink wrap to its surface, so each point was not permanent in the structure. As the camera moved, a section of the fractal would be described by new points, and so those new points would then pick up the noise at that location in space, which would stay the same no matter what points were being used to describe that section of the fractal.
This is the same effect occurring with the solver fractal, but because we see the fractal get shrink-wrapped, it made more sense to prioritize the continuity of the points rather than the fractal, so I used a rest value.
SOP Level
Solver

Fractal Function (fractal_function_2)

Geometry Offset (fractal_limited)

LOP Network

Solver Version Shader

Loop Version Shader
